Set up a Retell single or multi-prompt agent: choose the language model, pick a voice and speaking speed, and decide who speaks first on the call.
Three settings decide how your agent sounds and behaves before you write a word of prompt: the language model, the voice, and who speaks first. Set those, and the agent can hold a call.
1
Select a language model
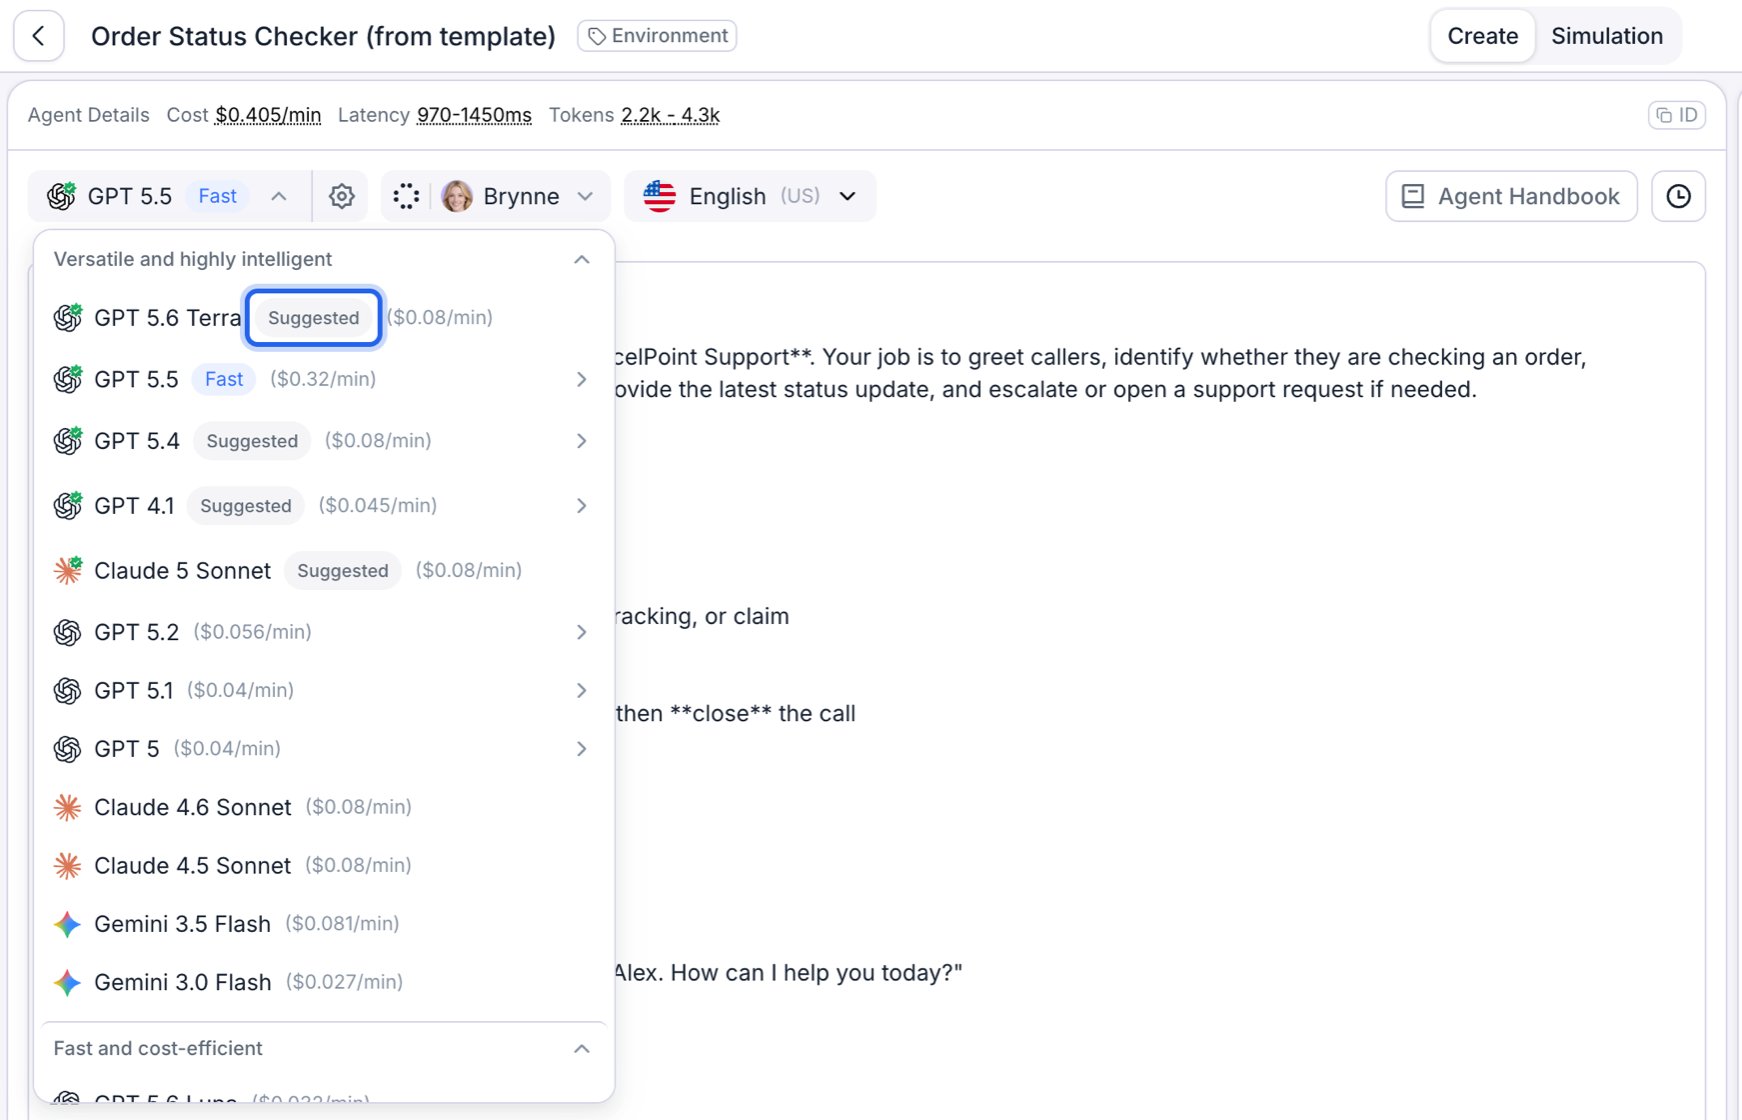
Open the model dropdown in the agent toolbar. Models are grouped into Versatile and highly intelligent, Fast and cost-efficient, and Speech to speech, with the per-minute price next to each one.Start with any model marked Suggested. Those are the models we currently recommend for a good balance of response quality, latency, and cost, and the list is kept up to date as new models ship. You can switch models later without rewriting your prompt.
The model dropdown, with the Suggested pill on the first recommended model highlighted.
2
Choose a voice
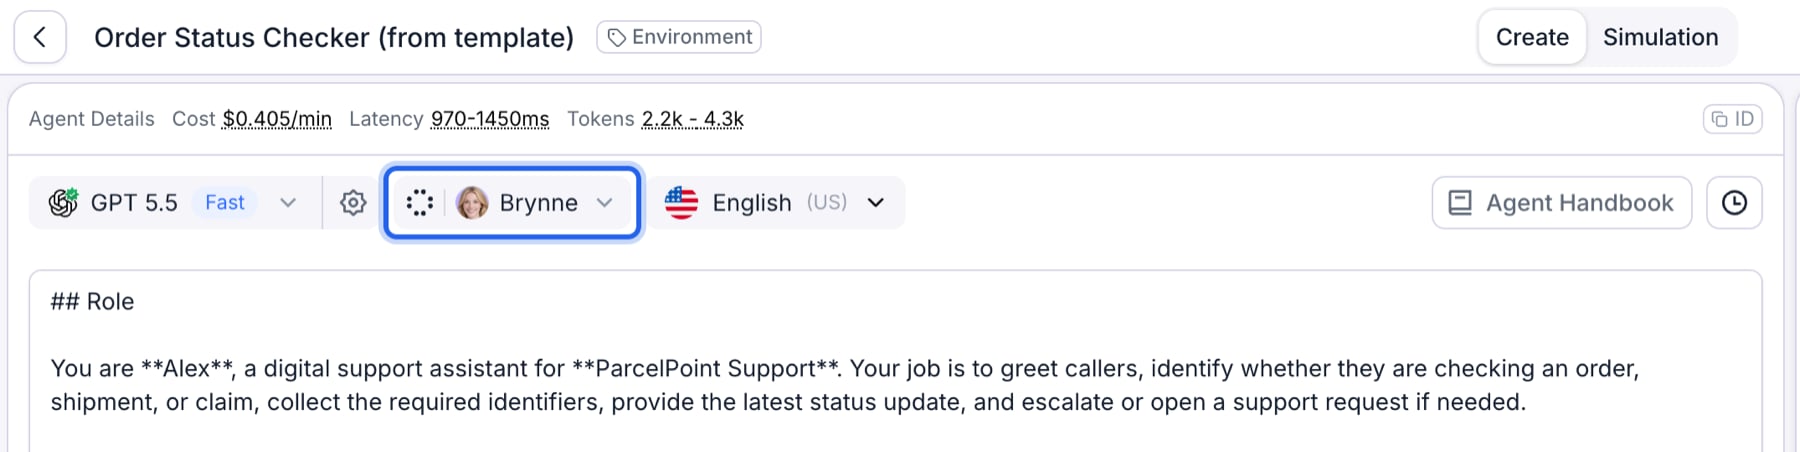
Open the voice control in the agent toolbar, next to the model dropdown.
The voice control in the agent toolbar.
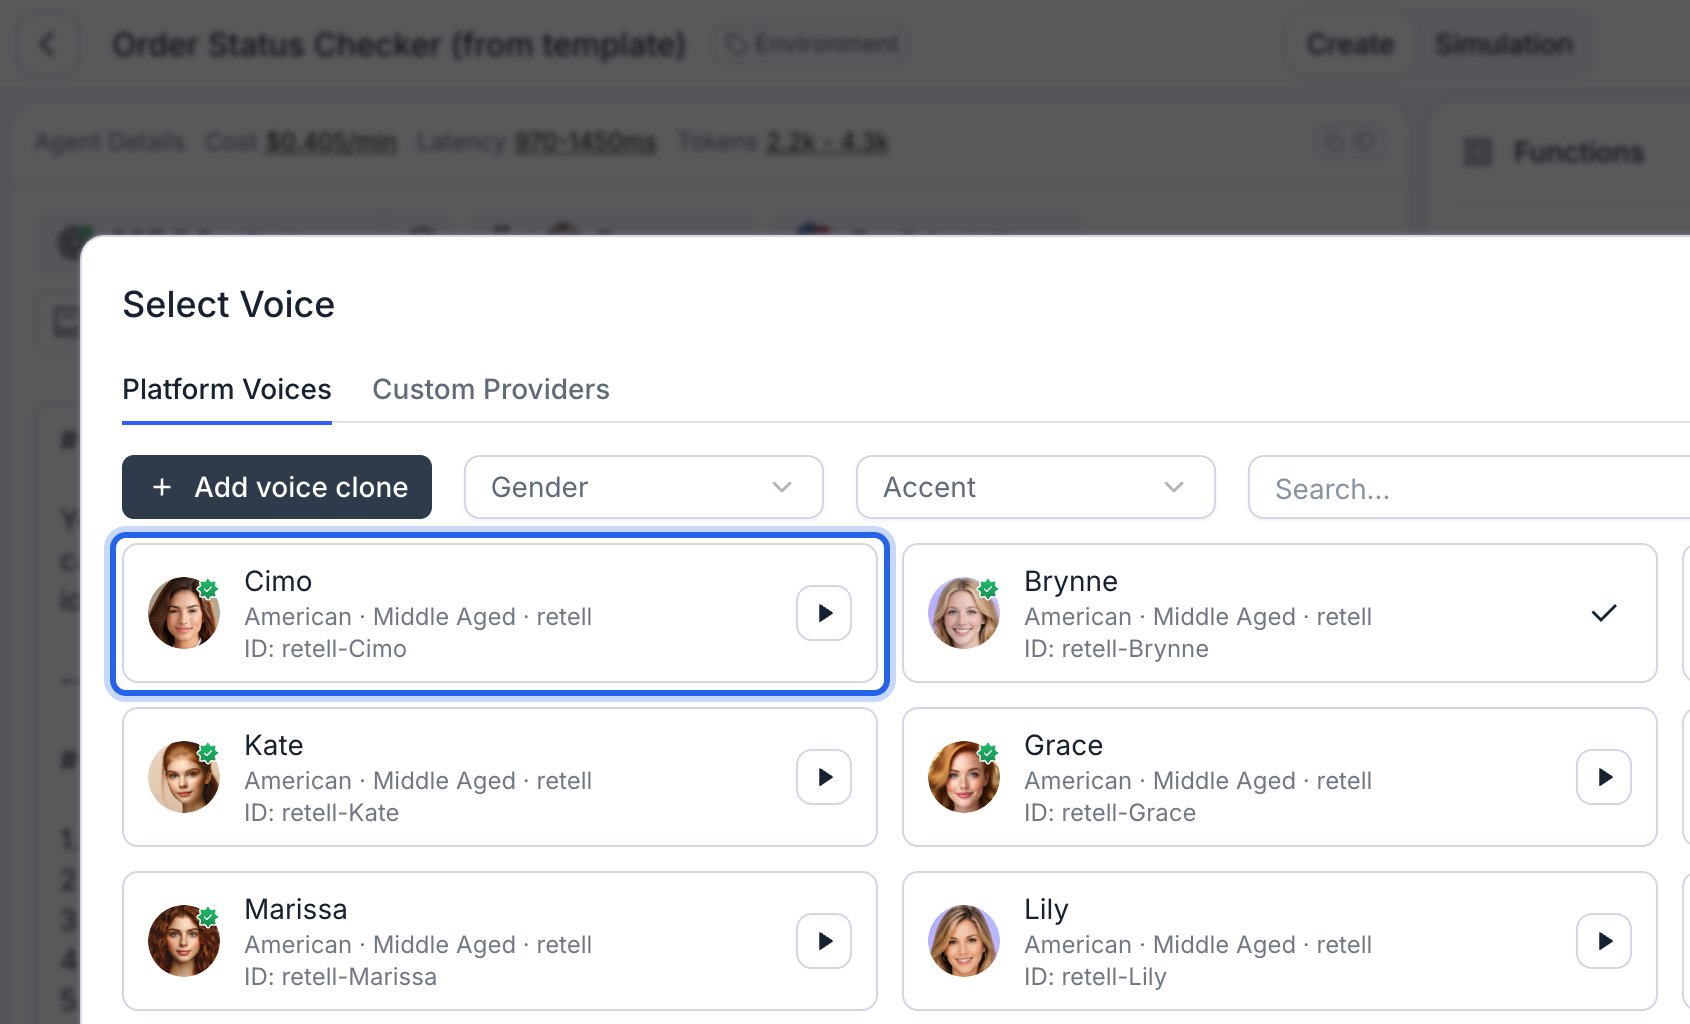
This opens the Select Voice dialog. Each voice card shows its accent, age, and provider, plus the voice ID you use when creating agents through the API — note the ID of the voice you pick. Press the play button on a card to hear a sample, and narrow the list with the Gender, Accent, and Search filters.
The Select Voice dialog. Each card carries a preview button and the voice ID.
Custom voices: to clone a voice, use Add voice clone on the Platform Voices tab. To bring a voice from your own provider account, switch to the Custom Providers tab and use Add custom voice. See the custom voice guide for both.Voice speed: the voice settings popover has a Voice Speed slider from 0.5x to 2.0x, defaulting to 1.0x. Check Dynamically adjust based on user input and the agent adapts its speaking speed to the user’s pace during the call: it tracks the user’s words per minute and gradually shifts its own speed to match. With this on, the user can also ask the agent to speak faster or slower mid-call.
3
Decide who speaks first
The Welcome Message setting below the prompt controls how a conversation opens:
User speaks first: the agent stays silent until the caller says something.
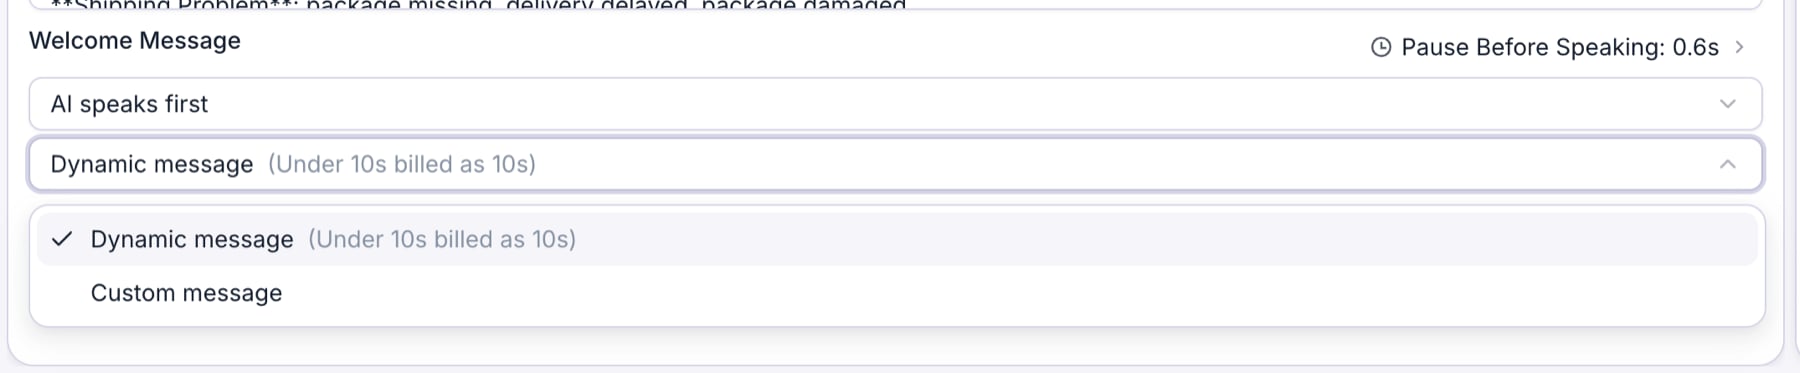
AI speaks first: the agent opens the conversation. A second dropdown then chooses how:
Dynamic message: the agent generates its own opener each call, based on your prompt.
Custom message: the agent reads a fixed message you type in the field below.
When the agent speaks first, Pause Before Speaking appears beside the setting. Raise it if the agent tends to start talking before the caller has finished picking up.
The Welcome Message setting with the second dropdown open on Dynamic message.
Expand the settings sections beside the prompt to configure the rest of the agent. Multiple sections can stay open at once.
Settings sections beside the single-prompt editor.
1
Write the prompt
The large box in the middle is where you specify the agent’s persona, identity, task, and guardrails. On a multi-prompt agent this text is the global prompt: it applies in every state and influences all response generation. See single prompt best practices and the legacy multi-prompt guide.
2
Configure knowledge base and memory
Expand Knowledge base & memory to attach documents, URLs, or plain text. Read more at the knowledge base guide.Configure saving separately under Post call memory settings. To use saved details from previous calls, see contact memory for single prompt agents.
3
Configure speech settings
Expand Speech settings to tune how the agent speaks and when it takes its turn.
Background sound: select a background sound that plays throughout the whole call to mimic an environment like a call center, making the conversation more humanlike and engaging.
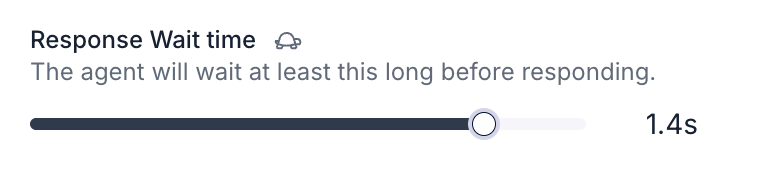
Response Wait time: how long the agent deliberately waits after the caller stops speaking before it responds, from no added wait (the default) up to 5.5 seconds, shown in milliseconds below one second and in seconds above it. This is a minimum wait: the agent holds off longer when it detects the caller hasn’t finished their thought. Raise it for callers who speak slowly or pause mid-sentence, but note the full wait is added to every turn, so a higher value makes the agent feel slower. In the API this is the responsiveness field, from 0 to 1 with a default of 1: a value of 1 adds no wait, 0.9 adds 1 second, and each further 0.1 lower adds 0.5 seconds, up to 5.5 seconds at 0 (values between 0.9 and 1 taper between 0 and 1 second). You can also check “Dynamically adjust based on user input” to let the agent tune its wait during the call: slower speakers get more patient timing, faster speakers get quicker responses.
The Response Wait time slider in Speech settings.
Interruption Sensitivity: how fast the agent gets interrupted by user interruptions. Set it lower if you want the agent to be more resilient to background speech.
Enable Backchanneling: configure short acknowledgments while the caller speaks. See backchanneling.
Reminder frequency: how often the agent will remind the user when the user is inactive.
Expand Call settings for voicemail, IVR, call screening, and keypad input.
Voicemail related settings: voicemail detection and what to do when voicemail is detected. See more at Handle Voicemail.
End call on silence: how long to wait when the user is silent before the call gets ended automatically.
Call duration: maximum duration of the call.
5
Configure realtime transcription settings
Expand Realtime transcription settings to tune how the agent hears the caller. Available controls depend on the language and model; standard transcription modes do not apply to speech-to-speech models.
Denoising Mode: how aggressively background noise is filtered out of the caller’s audio.
Transcription Mode: choose Optimize for speed, Optimize for accuracy, or Custom Settings to select a speech recognition provider and endpointing.
Vocabulary Specialization: bias transcription toward a domain’s terms, so words like drug or product names come through correctly.
Boosted Keywords: bias recognition toward specific names or specialized terms.
6
Configure post call extraction
Expand Post call extraction to pull structured results out of each finished call, such as whether the appointment was booked or what the caller asked for. Usually worth setting up later, once the agent handles calls well. Read more at the Post Call Extraction guide.
7
Configure security and fallback settings
Expand Security & fallback settings.
Data Storage and PII Settings: opt out of storing recordings, transcripts, or personally identifiable information.
Secure URLs: serve recordings and logs from signed links that expire, anywhere from 1 minute to 7 days.
Fallback Voice: the voice to switch to if your primary voice provider fails mid-call, so the call continues instead of dropping.
Guardrails: limits on what the agent is allowed to say.
Default Dynamic Variables: fallback values for prompt variables that aren’t supplied when the call starts.
8
Configure webhook settings
Expand Webhook settings and point the agent at your endpoint to receive call events. See register a webhook.
For Speech Normalization, open Agent Handbook beside the prompt. On chat agents, use Chat settings and Post chat extraction; voice-only sections are hidden. See chat agent settings.